Table of Contents
There are few easy step Install Composer on Windows with XAMPP.
Install Xampp
First of all, you need to download and Install XAMPP on Windows. For more details, see our step by step guide on How To Install XAMPP On Windows and then we need to install Composer.
Composer
Composer is a tool for dependency management in PHP. It allows you to declare the dependent libraries according your project requirement and it will manage (install/update) them in your project for you.
Install Composer
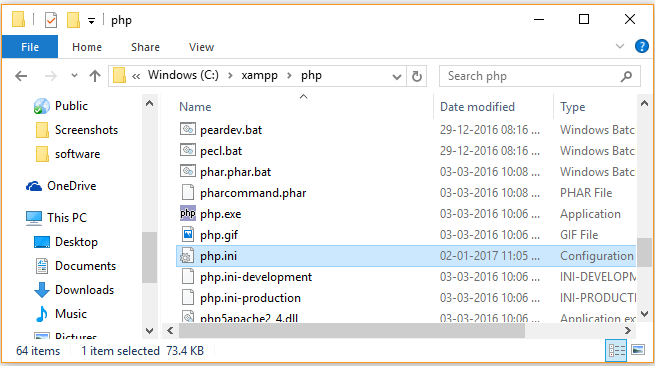
Before start installation, Open php.ini file, you can find this file in the C:\xampp\php path.
Note: If you installed latest version of XAMPP (7.2.1 or more) then you don’t need to update in php.ini file , skip this step and you can continue to step first – Download Composer.
Make sure these lines are enable by removing the semicolon (;) from the start.
extension=php_openssl.dllextension=php_curl.dllRestart your xampp, extension should be enabled after that. Now we are ready to install Composer set up.
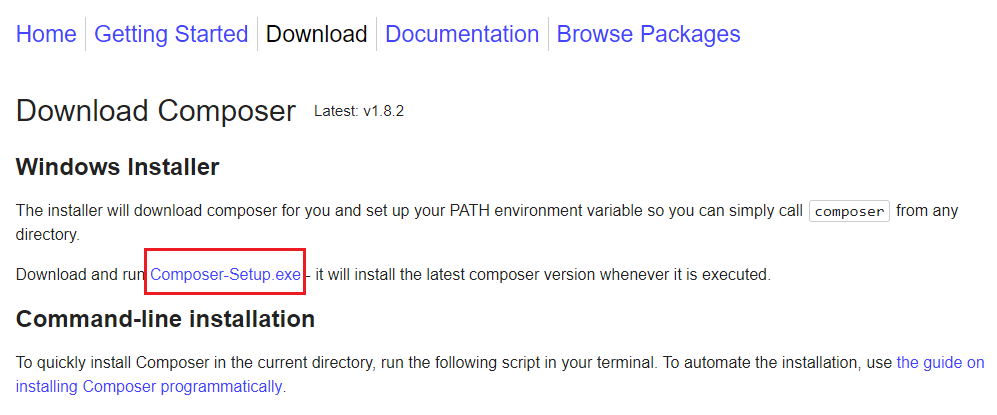
1) First go to Download Composer page and click the Composer-Setup.exe link to download Composer for Windows Installer.
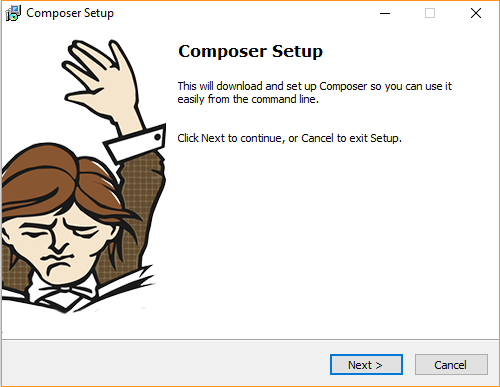
2) After finished downloading, double-click the Composer-Setup.exe file – it will install the latest composer version whenever it is executed. Click the Next button.
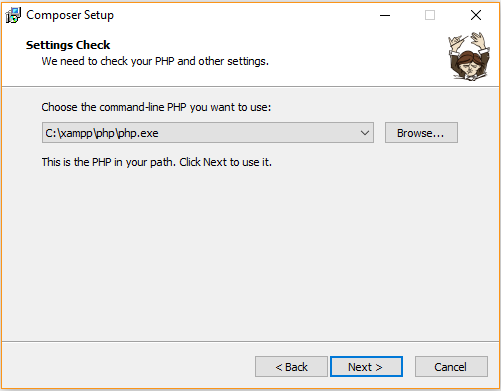
3) Select php.exe file, click the Next button.
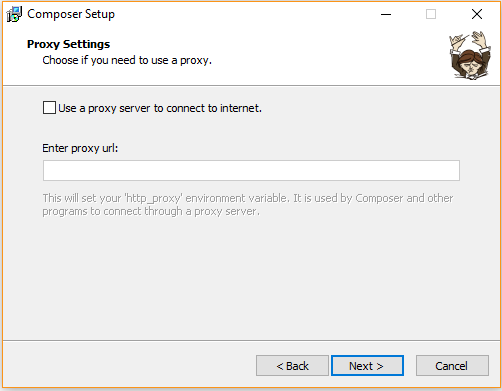
4) No need to add proxy URL, click the Next button to continue.
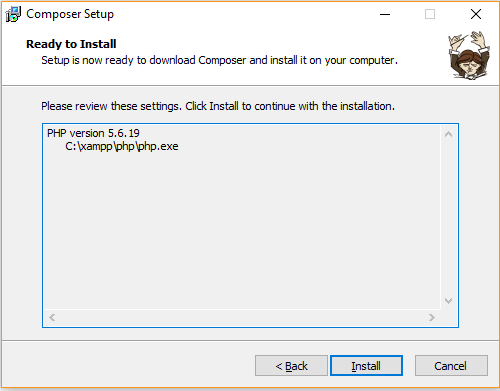
5) Composer setup is ready to install and click the Install button to continue.
6) Once you successfully installed the Composer.
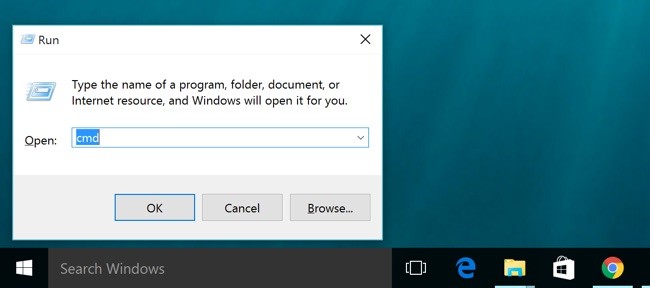
Open the command prompt. To open it, press “Win + R” keys on the keyboard, type in “cmd” and press the “OK“ button.
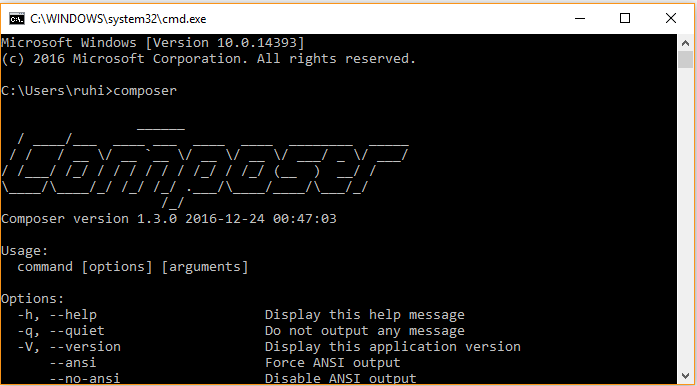
Then type “composer” and press enter in the terminal you will get following response like in the below image.
That’s it! I hope this article helped you learn to how to Install Composer On Windows With XAMPP.
Please feel free to comment below, your suggestion and problems if you face – we are here to solve your problems.
